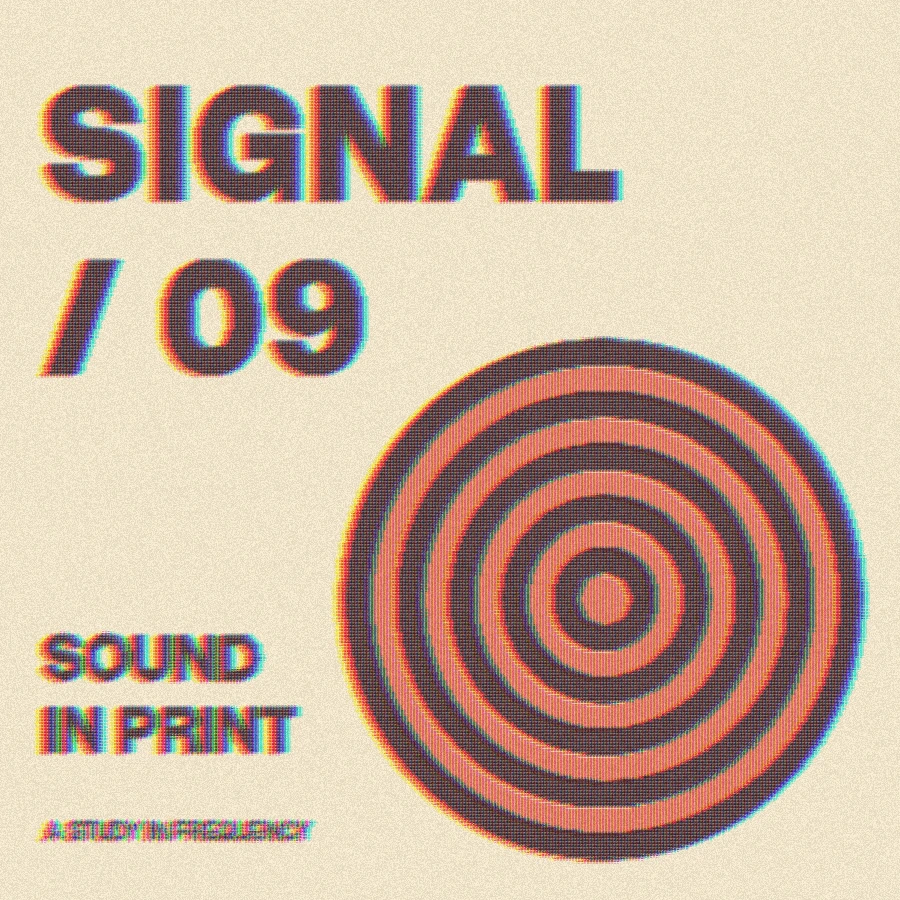
Make this look in three steps
- Open the Late signal recipe and open Finish in the controls.
- Move a finish up or down to change the processing order. Adjust its strength or disable it to compare. Undo restores earlier changes.
- Export the completed artwork. If Final palette is enabled, it runs after every finishing layer to constrain the output colors.
Why order changes the result
Grain adds brightness variation. Ink bleed darkens pixels toward nearby darker samples. Putting bleed after grain spreads some of that variation; putting grain last lays the variation over the finished edges. Compare both orders on the same source to see the difference.
What each finish does
Grain adds a repeatable light-and-dark surface variation. Ink bleed darkens edges using nearby pixels. Color shift offsets red and blue channels in opposite directions. Scanlines darken alternating pairs of rows. These are stylized finishing passes, not a physical film or printer model.
Base effect, finishes, final palette
The base effect and its color treatments render first. Finishes run in the listed order. Optional palette quantization runs last. You can use each of the four finishes once, disable it without losing settings or remove it entirely. This is a finishing stack rather than an unlimited layer compositor.
Transparency and export
Finishes preserve the existing alpha silhouette. Ink bleed darkens within visible pixels; it does not expand the shape into fully transparent areas. PNG and Pro SVG use the same finished rendering. Textured SVG exports can contain many vector pixel shapes and become large.
Free, Pro and your source files
Processing happens in your browser. Free image exports include 1× and 2× PNG and publish a small preview to the public community gallery. Pro skips gallery publication and adds 3× PNG, SVG and silent WebM video export. Use material you have the rights to upload.
Try it in Make ↗